|
|
|
Sneak Preview of a New Book Available In a few months |
|
|
||||||||||||||||||||||||||||||||
|
|
|
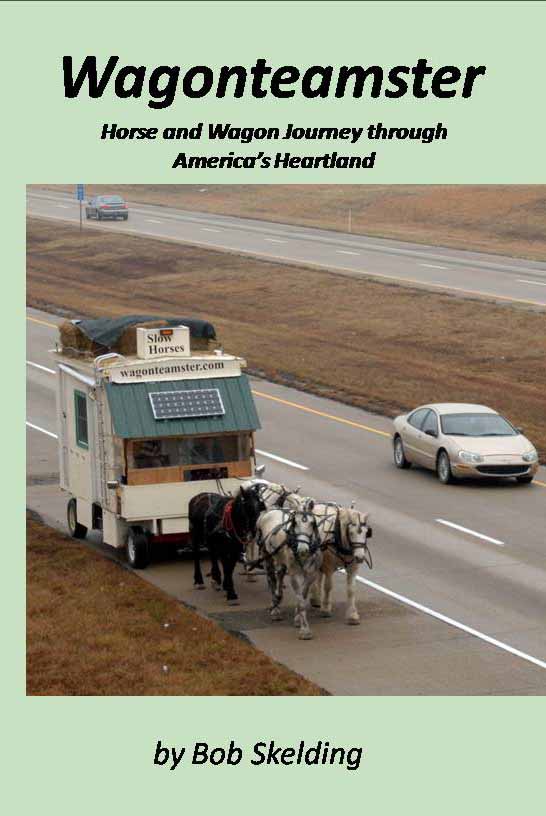
Wagonteamster |
|||||||
 |
|||||||
|
WAGONTEAMSTER .COM |
|||||||
|
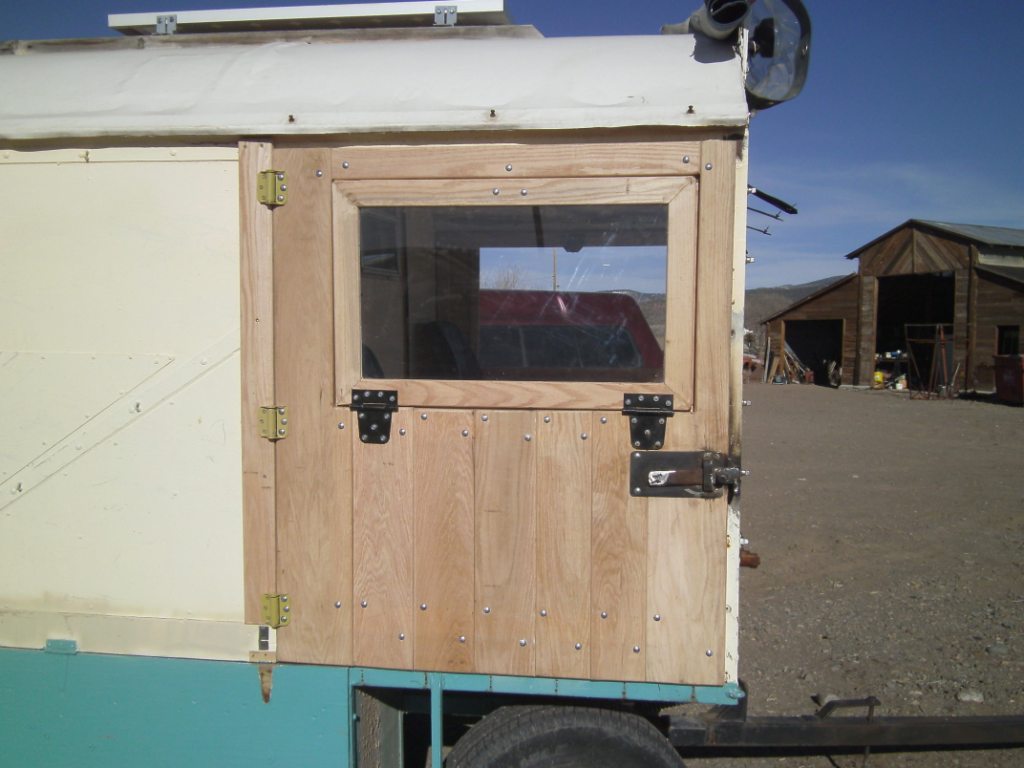
3/13/12, La Garita Creek, CO - Finally, most everything is staged to begin modifying the wagon for Trip #4. Last night, I helped my good friend, Marty, the Carriage Maker, put the finishing touches on the new doors before I hauled the wagon home. As Marty is a horse and wagon camping enthusiast himself, he went all out in building my new doors. They’re made from Red Oak, have drop down, Plexiglas windows, spring hinges and open from the front. I really like them. |
|
|
 |
|
One of the two new doors to the driving compartment. After the wagon is painted, they’ll be an attractive and functional addition to my horse-drawn RV. |
|
I have one more chore before starting on the wagon modifications. Tomorrow morning, I have to help my good friend Jerry change his well pump. We tried it this afternoon, but found out that we’ll have to move the well house to get enough room to pull the pump. |
 |
||
|
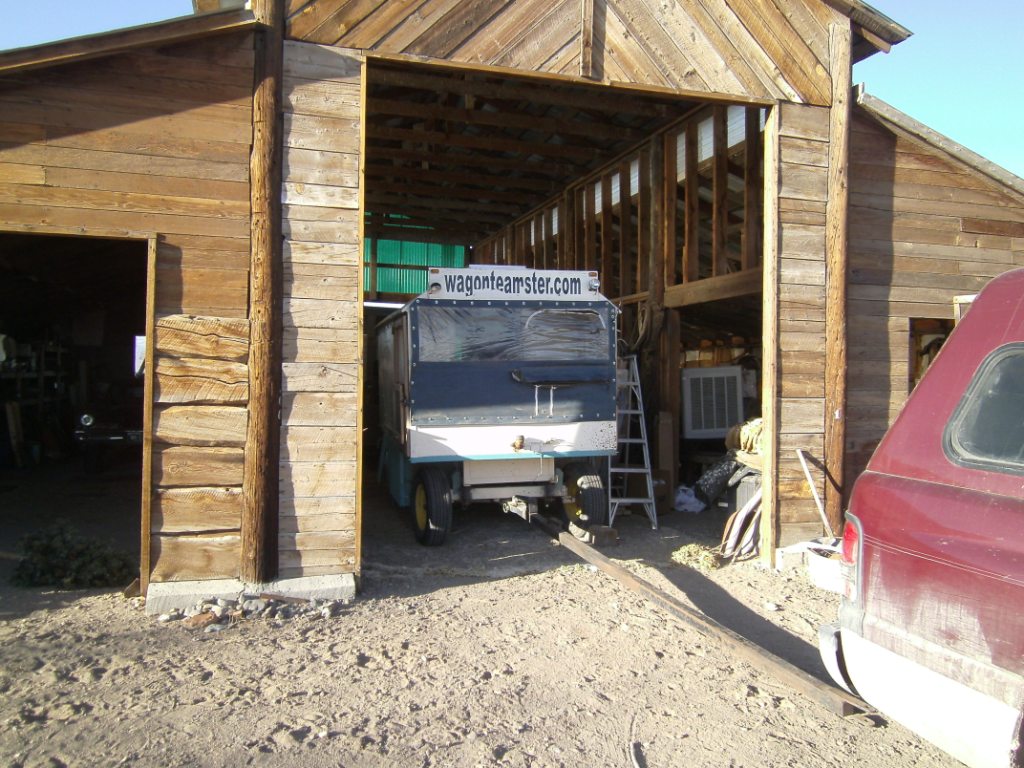
The wagon. parked in the barn at the Trading Post and ready to be worked on. |
||
|
Some of the chores I have to do in the next couple of weeks, include: 1. Weld on new front spindles and install the front brake drums. 2. Modify the floor under the driver’s feet and install two new master cylinder/brake pedal assemblies. 3. New plumbing for front and rear brakes. 4. Build a roof rack and install (3) 40” x 65” solar panels. 5. Build a new battery compartment and install 4 new deep cycle batteries 6. Install the new charge controller and inverter and wire everything up. 7. Replace the front sign board and install new marker lights 8. Install and wire a new, very bright, white strobe lights 9. Repair the front canvass and plastic windshield. 10. Install front and rear fence chargers. 11. Install left and right rear view mirrors. 12. Weld new horse ties to the outside of trailer. 13. Install a new stereo. 14. Wire in some more receptacles and outside lighting. 15. Install a new heater for the cabin. 16. Repaint the wagon and trailer, inside and out. |
 |
||||||||||||
|
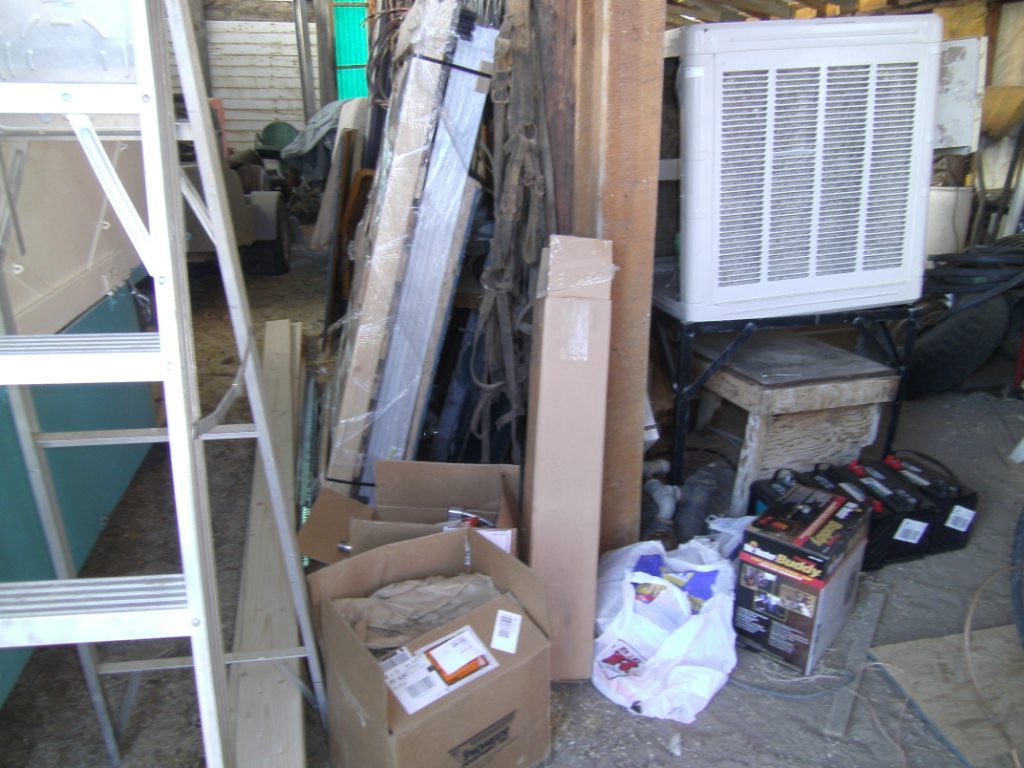
Some of the parts, staged and ready to be installed. |
||||||||||||
|
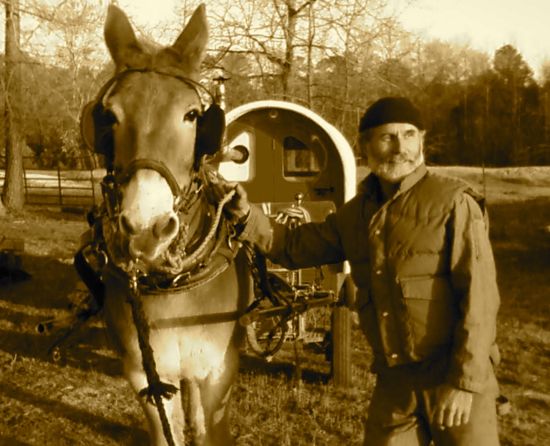
My good friend, Bernie Harberts has finished constructing the “Triscuit Wagon” and is getting ready for a Canadian Wagon adventure with mule Polly. Bernie is planning a trip through the Canadian Maritime Provinces. He plans on mixing two of his favorite pastimes - Mule driving and the Ocean. I encourage you to follow his adventures on his website - www.riverearth.com |
||||||||||||
 |
||||||||||||
|
Bernie and Polly, trying out the new rig. With a new rig, wild eyes and a belly full of pasture grass, this dynamic duo are ready for the road. (Photo plagiarized from Bernie’s Website - ha ha) |
||||||||||||
|
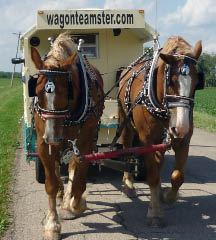
At intervals during the wagon construction process, I’ll hitch up the lads and start getting them ready for a two week training trip, starting on April 2nd. With new shoes and shaggy coats, they’re ready to go. Although, they’re not too excited about the grass hay I’ve been feeding them lately. They much prefer the grass/alfalfa mix they were on all winter. |
||||||||||||
 |
||||||||||||
|
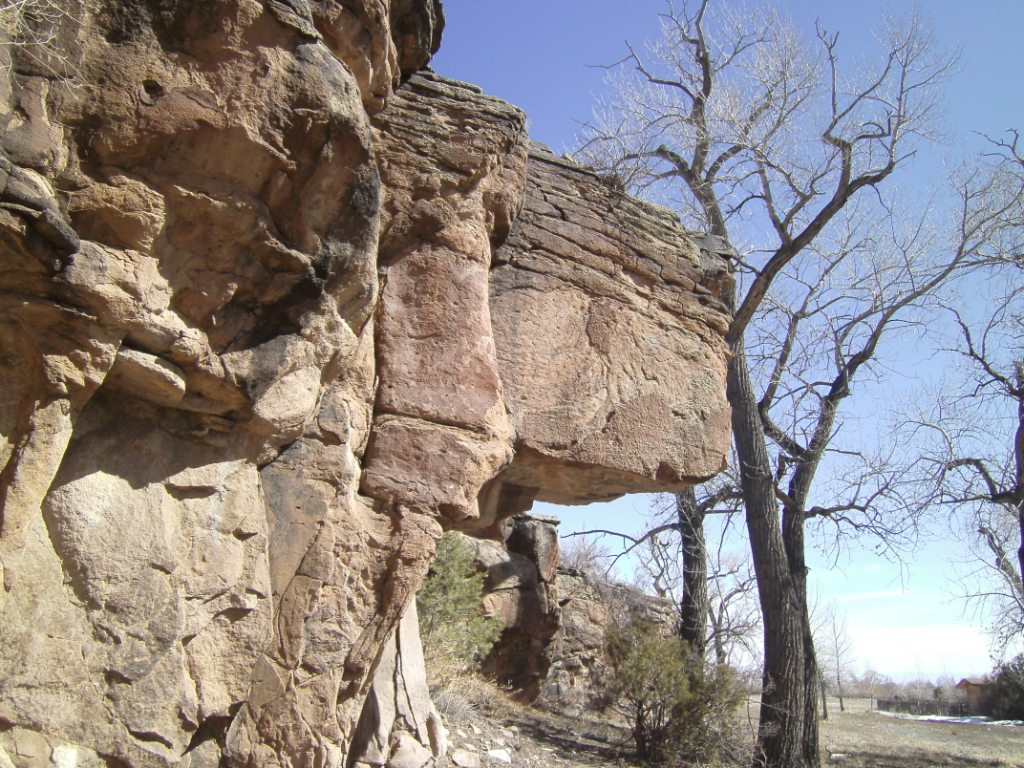
Some of the interesting rock here on the Balloon Ranch. |
|
My excitement level is rising as I get closer to getting on the road. Only a month and a half to go! |
